Before you start: what is actually going on?
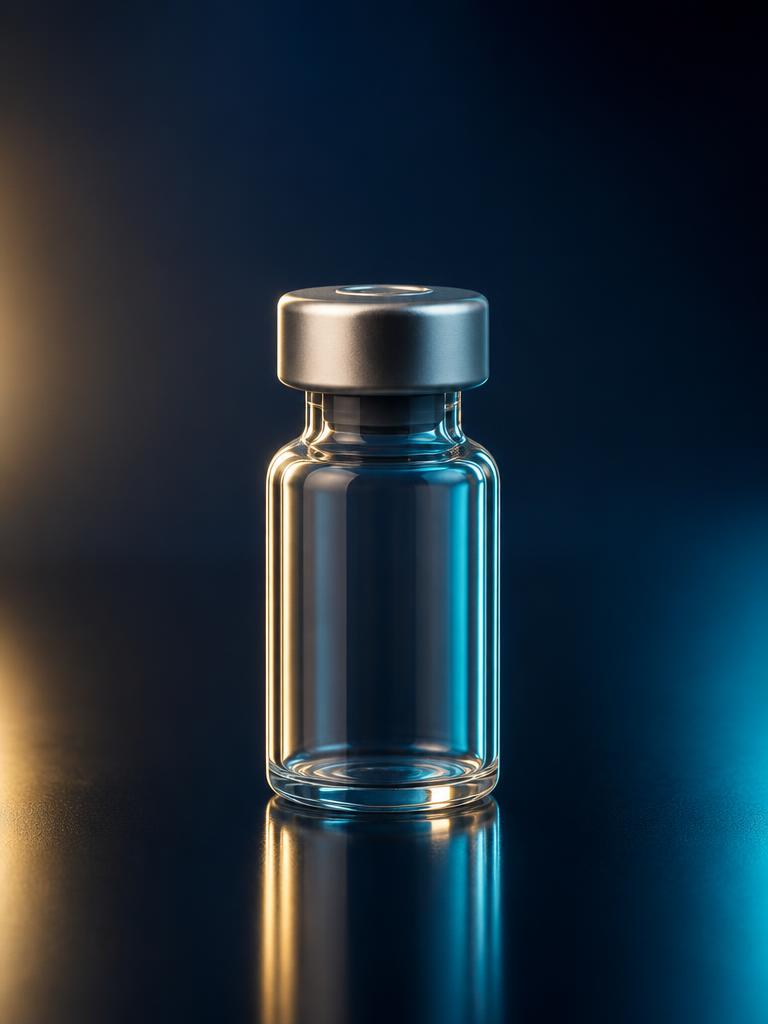
When you receive a peptide, it arrives as a tiny glass vial with a white cake or powder at the bottom. That white material is the peptide itself, but it is freeze-dried (scientists call this lyophilized). Think of it like powdered milk — it is stable on the shelf, but useless until you add water.
The water you add is called bacteriostatic water (or BAC water). It is sterile water with a tiny amount of benzyl alcohol that prevents bacteria from growing. This is important: do not use tap water, bottled water, or distilled water. Only bacteriostatic water.
Once you mix the water into the vial, the peptide dissolves and becomes a liquid solution. Now you can draw it into a syringe and inject it. The amount of water you add determines how concentrated the solution is — more water means each syringe unit holds less peptide, which makes small doses easier to measure accurately.
What you'll need
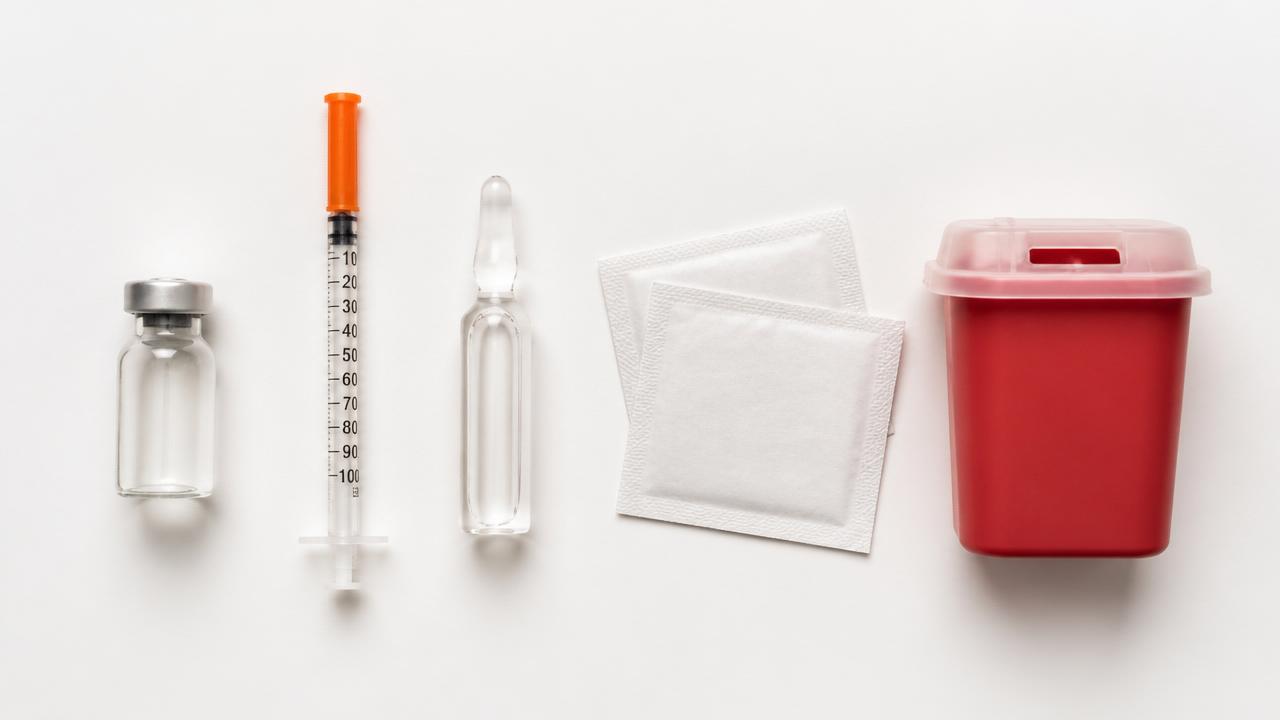
- Lyophilized peptide vial — the small glass bottle with the white powder or cake inside.
- Bacteriostatic water (BAC water) — sterile water with preservative. Usually sold in 30 mL multi-dose vials.
- Insulin syringes — the clear plastic syringes marked in "units." Most peptide protocols use a 100-unit (1 mL) syringe with a very thin 29–31 gauge needle. The needle is short (5/16 inch) because peptides are injected just under the skin, not deep into muscle.
- Alcohol prep pads — to clean the rubber stoppers on the vials before you insert the needle.
- Sharps container — any hard plastic bottle with a lid (an old detergent bottle works) to safely dispose of used needles.
- A clean flat surface — kitchen counter is fine. Wash your hands first.
Reconstituting the vial step by step
- Wash your hands. This is not optional. Bacteriostatic water slows bacterial growth, but it does not sterilize dirty hands.
- Clean both vial tops. Wipe the rubber stopper of the peptide vial and the BAC water vial with an alcohol pad. Let them air-dry for 10–15 seconds so the alcohol evaporates.
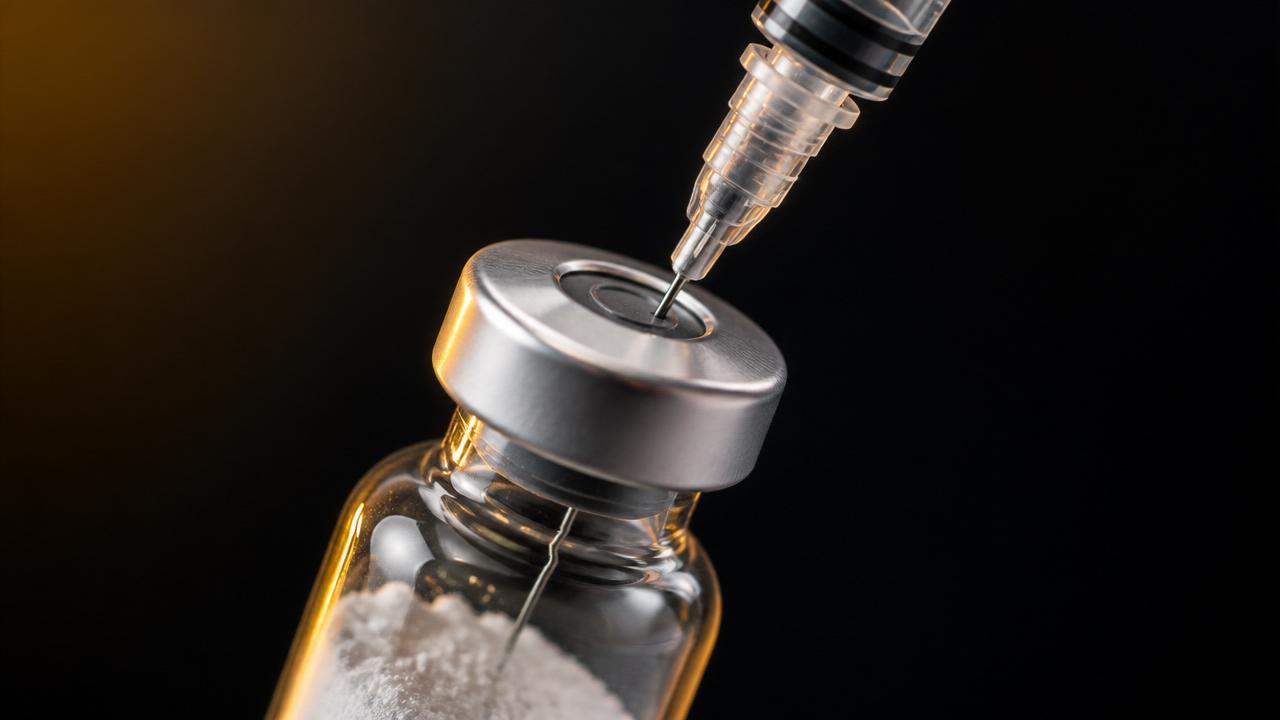
- Draw the BAC water. Pull the syringe plunger back to the exact unit count listed in the protocol (for example, 100 units = 1 mL). Insert the needle into the BAC water vial, push the plunger in to inject air, then turn the vial upside down and pull the plunger back to draw the water out.
- Inject the water gently. Insert the needle into the peptide vial and slowly squirt the water against the inside glass wall so it runs down onto the powder. Do not blast it directly onto the powder — the force can damage the delicate peptide structure.
- Dissolve patiently. Swirl the vial gently in a circular motion. Do not shake it like a cocktail shaker. Peptides are fragile molecules and violent shaking can break them apart. It may take 30–60 seconds for the powder to fully dissolve. Some peptides leave a slight haze — that is usually fine.
- Label the vial immediately. Write the peptide name, the amount of BAC water added, and today's date on the label. Example: "BPC-157 | 2 mL BAC | June 30". You do not want to guess which vial is which two weeks later.
Understanding the math (so the calculator makes sense)
Every protocol on this site tells you three numbers:
- Vial size — how much peptide is in the bottle (e.g., 5 mg)
- BAC water — how much water to add (e.g., 2 mL)
- Target dose — how much peptide you want per injection (e.g., 250 mcg)
Here is why this matters. If you put 5 mg (5,000 mcg) of peptide into 2 mL of water, you now have 2,500 mcg of peptide in every 1 mL of liquid. An insulin syringe holds 1 mL total, marked as 100 units. So each unit on the syringe contains 25 mcg of peptide. If your target dose is 250 mcg, you need to draw 10 units.
In the example above: (250 ÷ 5000) × (2 × 100) = 10 units. Remember: 100 units on an insulin syringe always equals 1 mL.
Our dosage calculator does this automatically and shows you a picture of the syringe so you can see exactly where the plunger should stop. You do not need to memorize the formula — but understanding it means you will never feel dependent on a website.
Drawing your dose from the reconstituted vial
- Clean the peptide vial stopper with an alcohol pad and let it dry.
- Pull the syringe plunger back to the unit count you calculated.
- Insert the needle through the rubber stopper.
- Turn the vial upside down so the liquid covers the needle opening.
- Slowly pull the plunger back to your target unit mark.
- Pull the needle out and check for air bubbles. If you see any, flick the syringe barrel with your finger until they rise to the top, then push the plunger slightly to expel them.
Injection technique for beginners
The vast majority of peptides are injected subcutaneously— a fancy word for "just under the skin." This is the same way diabetics inject insulin. It is shallow, relatively painless, and absorbs quickly.
Here is exactly how to do it:
- Pick a site. The abdomen (2 inches away from the belly button), upper outer thigh, back of the arm, or love handles are all common. Do not inject into the exact same spot twice in a row.
- Clean the skin with an alcohol pad and let it dry.
- Pinch the skin between your thumb and index finger to create a little fold of fat. This lifts the tissue away from underlying muscle and nerves.
- Insert the needle at a 45-degree angle if you are lean, or straight in (90 degrees) if you have more subcutaneous fat. The needle is very short — it will not go deep enough to hit anything important.
- Push the plunger slowly — rushing can cause stinging.
- Remove the needle and apply gentle pressure with a cotton ball or tissue. A tiny drop of blood is normal.
A few peptides (like MGF or Follistatin) are meant to be injected directly into the muscle being trained. Those are exceptions — most of what you will use is subcutaneous.
How to store peptides so they last
- Unmixed (lyophilized) vials: keep them in the refrigerator. If you will not use them within 6 months, the freezer is even better. They are stable for years when cold and dry.
- After reconstitution: always refrigerate. Once you add water, the peptide is alive in solution and will degrade at room temperature. Most reconstituted peptides remain potent for 30–60 days in the fridge.
- Protect from light and heat. Do not leave vials on a windowsill or in a hot car. A refrigerator drawer or a small box in the fridge works perfectly.
Common beginner mistakes to avoid
- Using tap or bottled water instead of bacteriostatic water. This is the most common and most dangerous mistake. Non-sterile water can introduce bacteria into the vial.
- Shaking the vial to dissolve the powder. Always swirl gently. Shaking can denature (damage) the peptide.
- Injecting the water directly onto the powder. Aim for the glass wall and let it run down.
- Forgetting to label the vial. After a few weeks every vial looks the same.
- Leaving reconstituted vials at room temperature. Heat destroys peptides. Keep them cold.
- Reusing needles. Needles dull after one use. A dull needle hurts more and can damage skin.
- Not rotating injection sites. Repeated injections in the same spot can cause lumps, bruising, or reduced absorption.
General rules from the playbook
- Start at half the listed dose for the first week. Your body needs time to adjust, and this lets you spot any unusual reaction before it becomes significant.
- For GLP-1 weight-loss peptides, if fat loss stalls for two consecutive weeks, increase by 5 units until you reach your target.
- Rotate injection sites every single dose. Give each spot at least a few days to recover.
- Refrigerate after reconstituting. Freeze lyophilized vials only if you are storing them longer than 6 months.
- Vial sizes (5 mg, 10 mg, 20 mg) of the same peptide are completely interchangeable — the calculator adjusts the math automatically. A 10 mg vial simply contains twice as much peptide as a 5 mg vial.
- If a reconstituted vial ever looks cloudy, has floating particles, or smells unusual, discard it. When in doubt, throw it out.
Use code ANYPEPTIDES10 for 10% off your order.